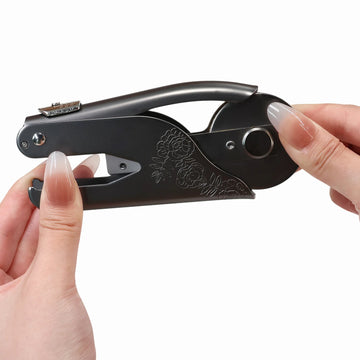


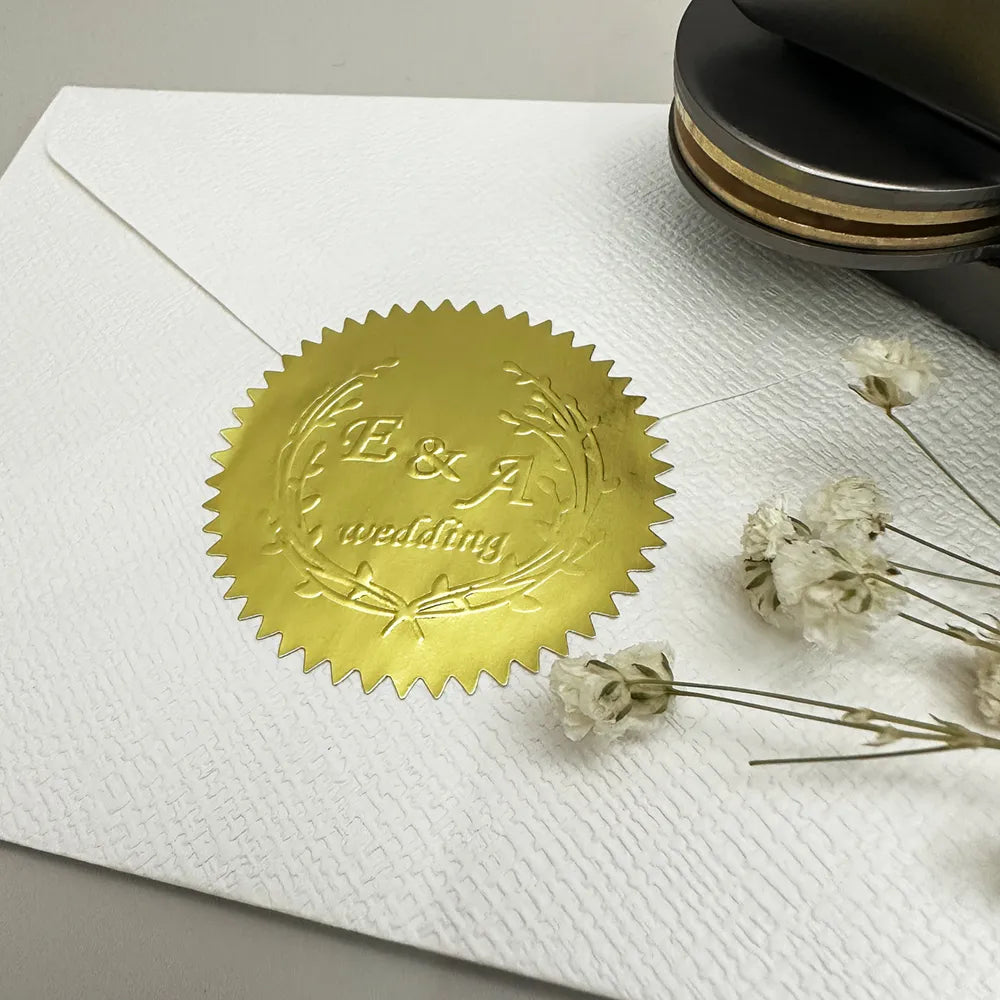
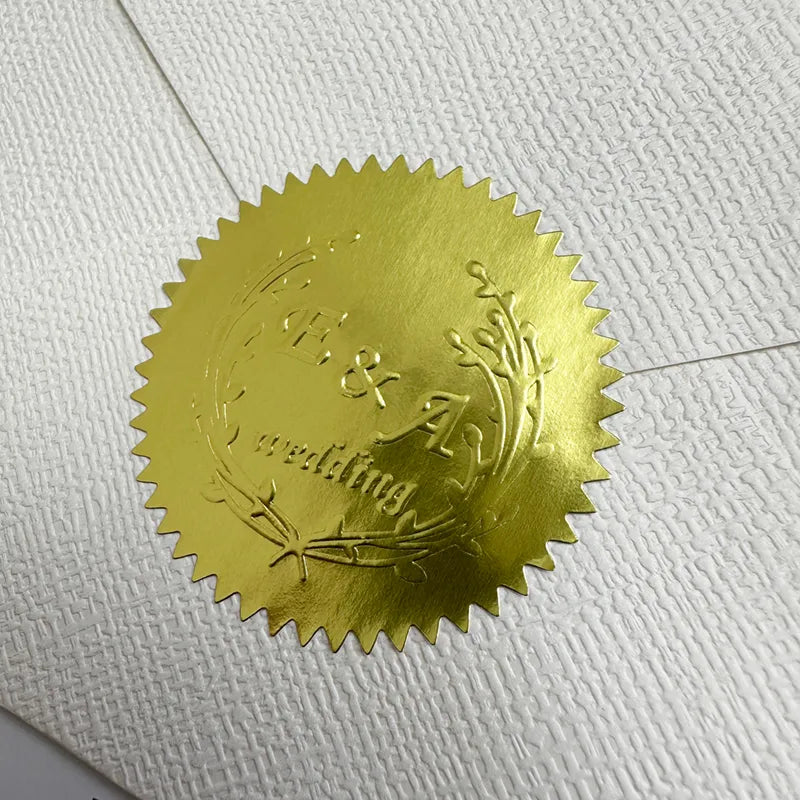

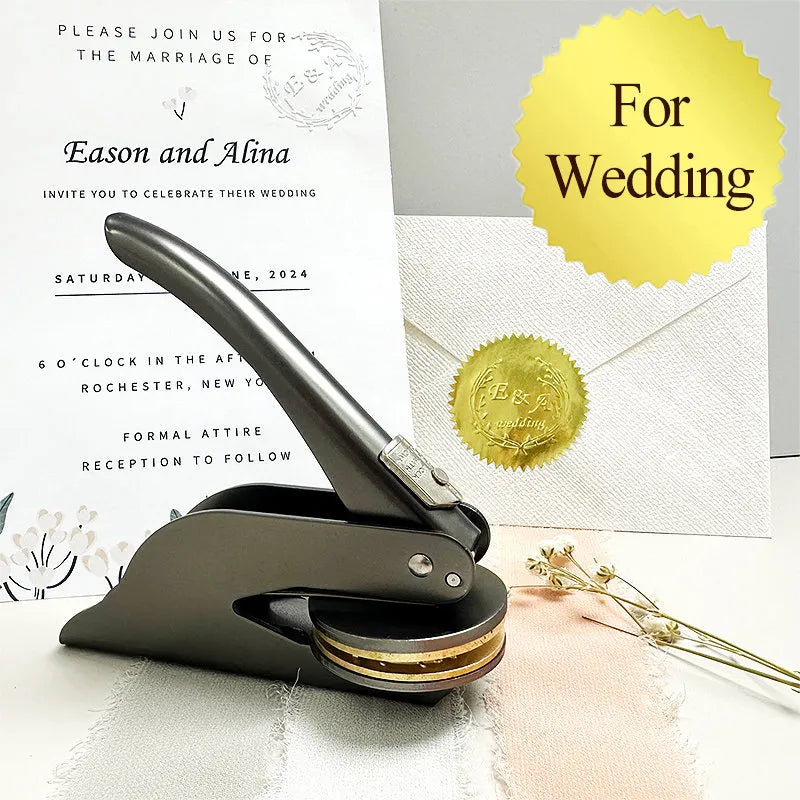
Custom Wedding Embosser
✅ Works on paper, invitations, cards, and more
✅ Quick, easy, and stunning results every time
-
Estimated Delivery:Jun 20 - Jun 24
-
Free Shipping : On all orders over $59

Custom Wedding Embosser
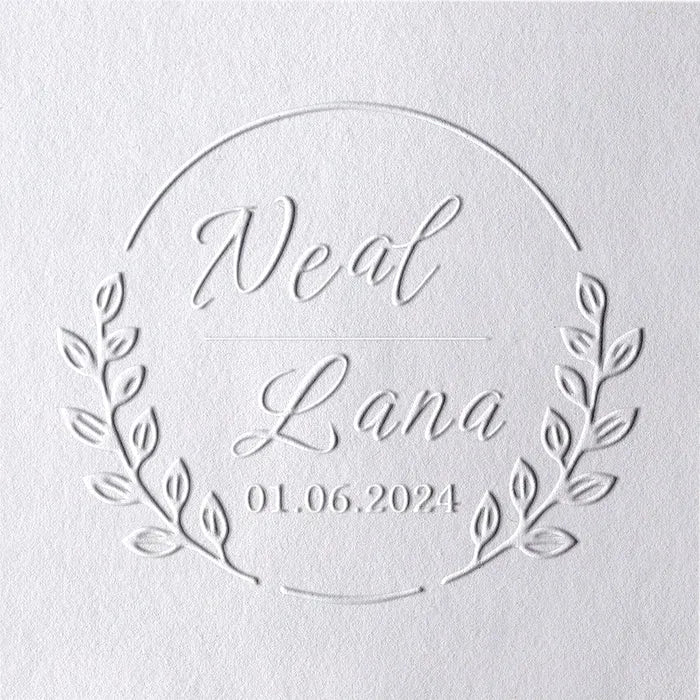
Transform Your Wedding Details into Lasting Memories
Your wedding is a once-in-a-lifetime celebration of love — make every detail count. With our Custom Wedding Embosser, you can personalize your wedding invitations, thank you cards, and save-the-dates with a unique embossed design that reflects the elegance of your love story. Each press adds a timeless touch, turning your stationery into cherished keepsakes that will remind you of your special day for years to come.
Whether you’re creating beautiful invitations or sealing your thank you notes, our embosser ensures every detail stands out with a personal, elegant, and unforgettable mark.
🌟Made Just For You
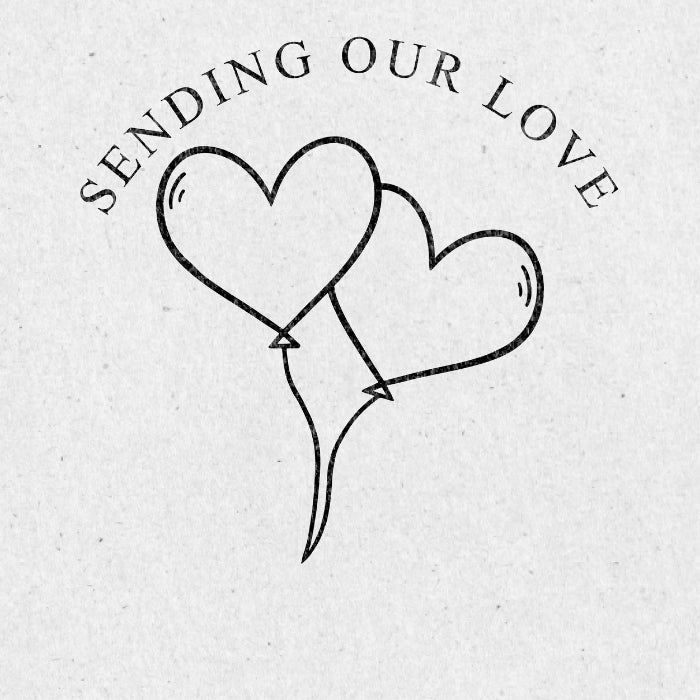
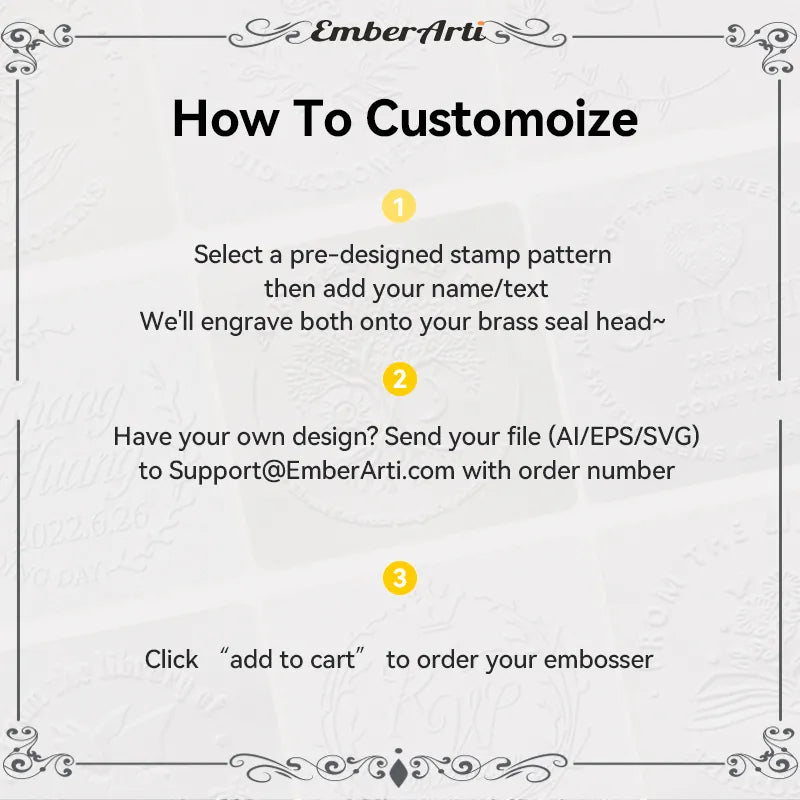
1️⃣ Choose Your Design
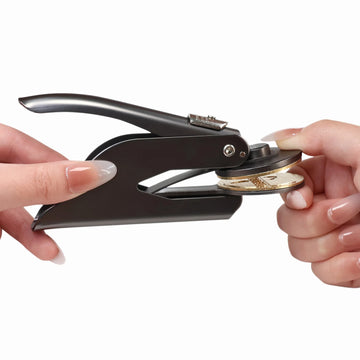
Option 1: Select from our pre-designed stamp patterns and personalize it with your name or text—we’ll engrave both onto your brass seal head.
Option 2: Have your own design? Send your file (AI/EPS/SVG) to Support@EmberArti.com—don’t forget to include your order number!
2️⃣ Review Your Proof
We’ll create a digital mockup of your design and send it to you for approval—usually within 24 business hours.
3️⃣ Confirm & Production Begins
Once you approve the proof, we’ll carefully engrave and craft your custom seal, which typically takes 2-3 days.
4️⃣ Fast Shipping
As soon as your seal is ready, we’ll ship it without delay—so you can start embossing in no time!
✨ Personalized, Fast, Effortless—Just the way you want it.
Get your embosser assembled!